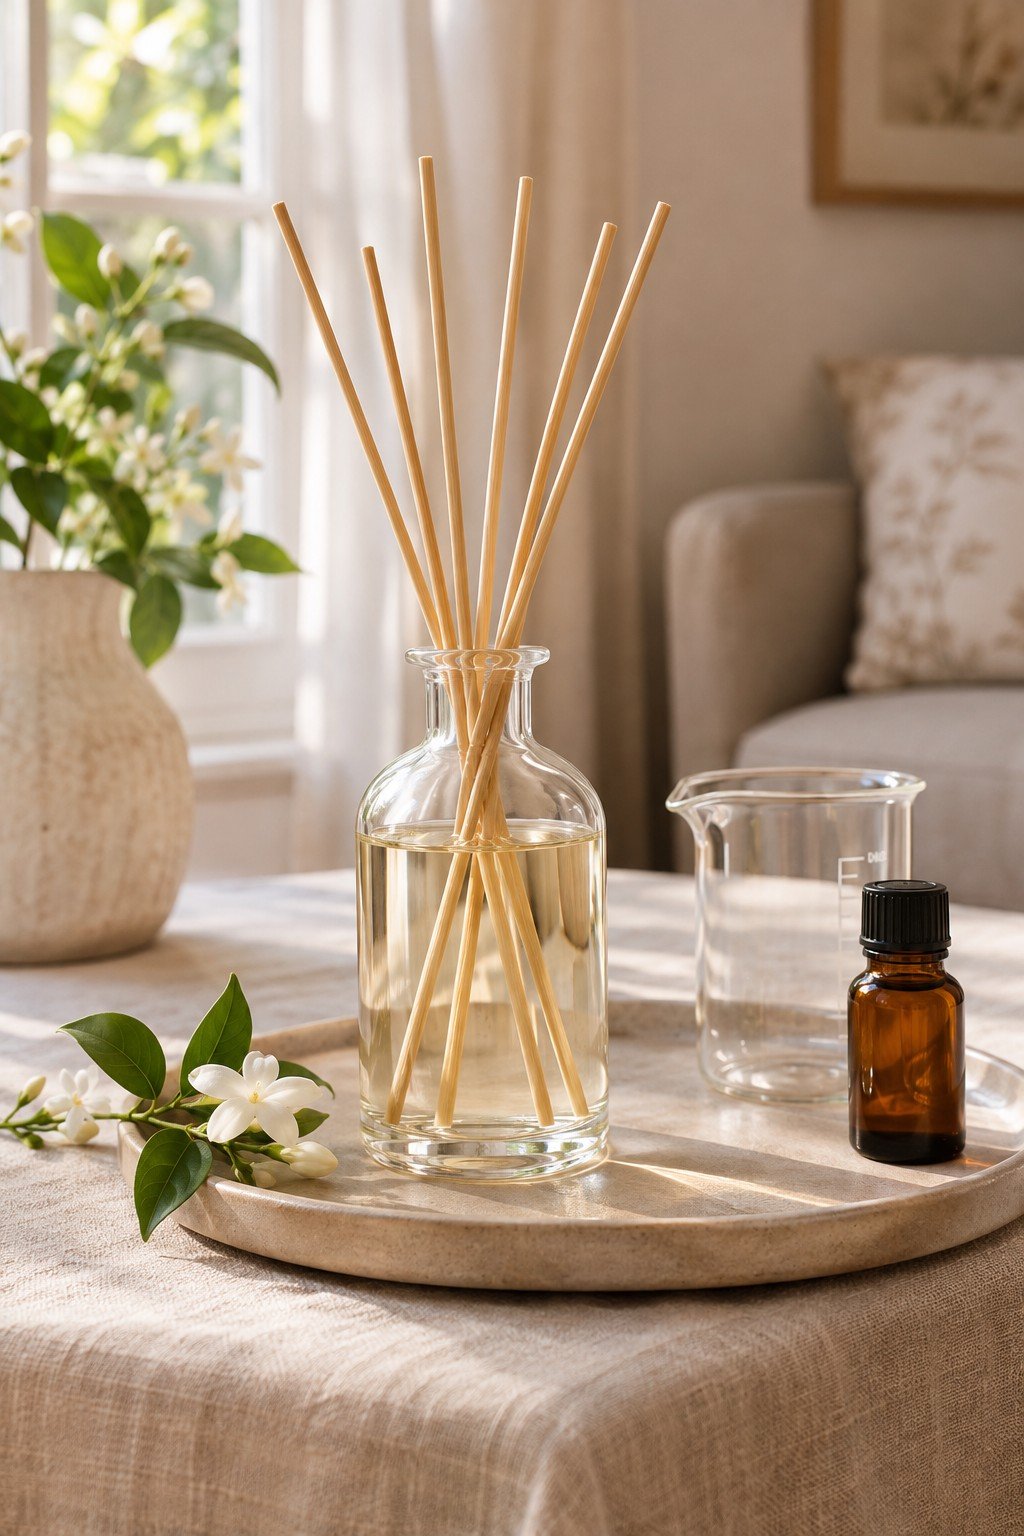
A small glass bottle and a few reeds can be a lovely finishing detail in a room. For a first diffuser project, I would keep the look simple and give most of my attention to the ingredients. A beautiful bottle is easy to choose; a well-matched base and fragrance deserve a little more care.
This guide is for a reed diffuser: the type that sits in a bottle and releases scent through sticks, without being heated. It is a beginner’s planning guide, not a tested Sundra Bains product formula.
What you need before you begin
- A ready-made reed diffuser base. Choose one intended for this application.
- A compatible fragrance oil. Ask the supplier to confirm it works with your chosen base and to provide its current usage guidance and safety data sheet.
- Diffuser reeds. Use rattan or fibre reeds sold for diffusers.
- A suitable glass bottle. Look for a stable bottle with a narrow opening and space for the reeds.
- Dedicated equipment. A digital scale, mixing vessel, stirrer, small funnel, protective gloves recommended by the supplier, and a wipeable work surface make preparation easier.
Start with one base and one fragrance. Buying several oils at once makes the first experiment harder to understand. CandleScience’s reed diffuser supply guide explains how to identify diffuser-compatible fragrances.
Choose the ratio from the products, not a generic recipe
There is no single fragrance percentage for every diffuser. Follow the base maker’s directions and the fragrance supplier’s application limits, using a level that satisfies both. An IFRA maximum is a limit, not a promise of good performance. Ask for the documentation covering reed diffusers; these sit within IFRA Category 10A.
For example, Candle Supply’s current base guidance recommends 10–15% compatible fragrance by weight for its own base. That range should not be transferred automatically to a different product.
A small-batch calculation
Only if your specific base and fragrance both allow 10%: a 50 g test batch would contain 5 g fragrance and 45 g base.
Fragrance weight = total batch weight × fragrance percentage ÷ 100.
Base weight = total batch weight − fragrance weight.
These are weights, not millilitres. A 50 g blend does not necessarily occupy 50 ml. Leave room in the bottle for the reeds and follow its fill guidance.
Make one small test batch
- Read both products’ instructions and safety sheets, then prepare a clean, well-ventilated workspace away from food preparation.
- Weigh the ingredients for your approved ratio in dedicated equipment. Record the product names, amounts and date.
- Combine and stir as the base supplier directs. If the mixture separates, do not assume adding more fragrance will solve it; ask the supplier about compatibility.
- Transfer the blend into the diffuser bottle without overfilling. Wipe away drips promptly.
- Add the supplier’s recommended reeds and allow the stated time for them to absorb the blend. Follow its instructions on turning the reeds, handling wet ends over a protected surface.
CandleScience’s making tutorial demonstrates weighing, blending and filling with its own products. Use the directions for the products you actually buy.
Pick a scent that suits the room
I would begin with a single ready-blended scent rather than improvise a mixture of several oils. A jasmine-style fragrance might suit a floral preference; an amber-and-vanilla blend suggests a warmer direction; sandalwood-style notes offer another option. These describe scent preferences, not health benefits.
Names such as “jasmine” or “lavender” do not establish that an oil is suitable for a diffuser. Check the actual product. If someone in the household dislikes fragrance, a beautiful room does not need a scented finishing touch.
Place it with the same care as any other household product
Use a stable surface and a protective tray that can contain drips. Keep the bottle away from heat, flames, children and pets, and follow its safety sheet for handling and storage. Avoid skin and eye contact; never ingest the liquid. Clean spills according to the product guidance, particularly around painted, wooden or polished surfaces.
Do not pour a reed diffuser blend into an electric, heated or ultrasonic diffuser. Those devices need the materials specified by their own manufacturers; CandleScience also distinguishes reed-diffuser use from heated devices.
Give the first bottle time to teach you something
Keep a short note of where the diffuser sits, how many reeds you use and whether the scent feels too strong or too faint. Change one thing at a time, within the supplier’s instructions. My aim would be a modest, well-understood first batch—not a shelf full of bottles with no record of what went into them.
For gifting or selling, there is a separate step: check the rules for your market, packaging and labelling, and arrange appropriate product safety work. A small home experiment is a starting point, not evidence that a commercial product is ready.
Keep a simple first-batch record
Write the inputs down before mixing
Record the exact base and fragrance product names, supplier guidance date, intended batch weight and the permitted usage level for that combination. Keep those documents with the record. A scent name such as jasmine does not identify a formulation, and changing suppliers can change the instructions even when the label sounds similar.
Change one thing on the next trial
Record where the bottle sits, the type and number of reeds and your observations after the interval recommended by the supplier. If you make a second trial, change one choice within the permitted guidance so the comparison means something. Do not increase the fragrance concentration merely because the first impression seems faint; check compatibility and instructions first.
A useful question
Is this a tested Sundra Bains commercial formula?
No. It is a beginner’s planning guide. Follow the suppliers’ instructions for the actual materials, and obtain appropriate product-safety and labelling advice before selling or gifting a finished product.
Updated 13 November 2026 · Expanded with practical planning details and clearer next steps.